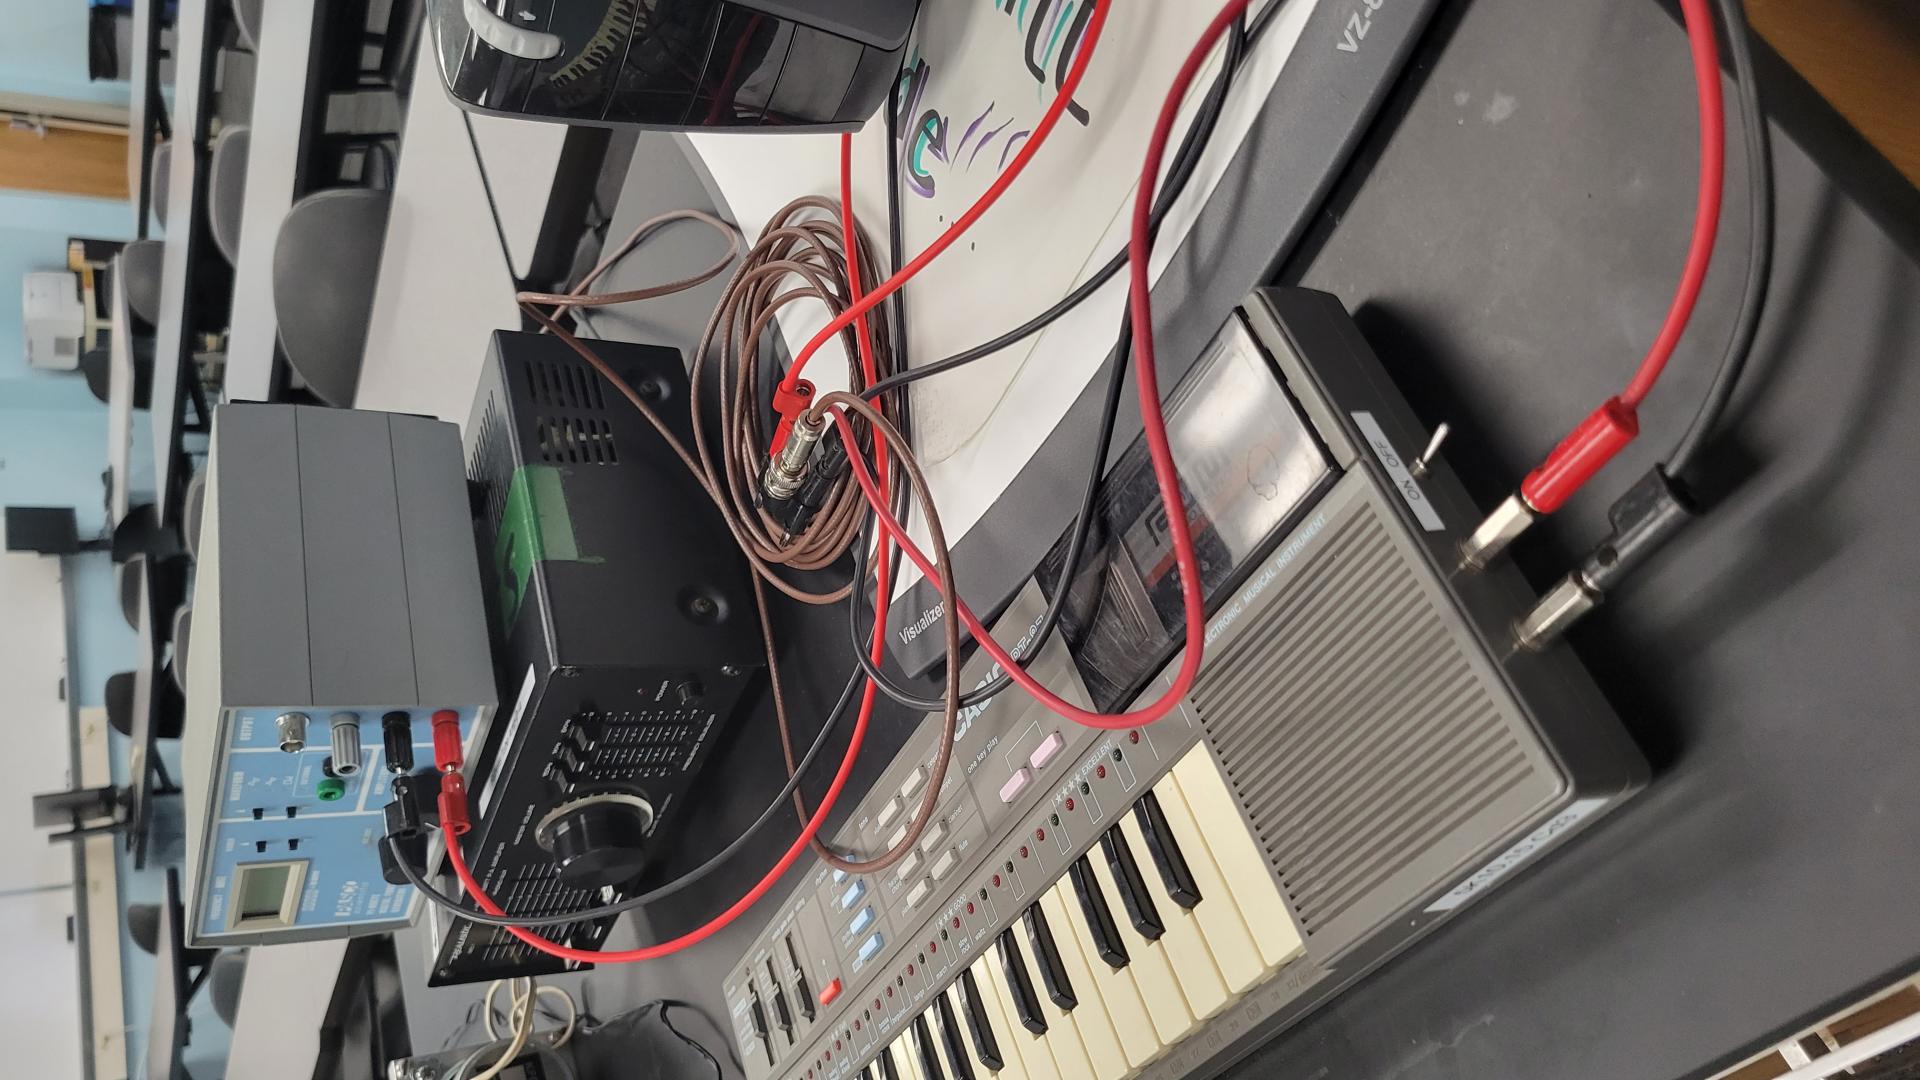
Description
A grid of parallel metal wires is placed in the path of a microwave beam to demonstrate polarization. As the grid is rotated, the intensity of the microwaves detected by a receiver changes. When the grid's wires are aligned with the electric field of the microwaves, the waves are absorbed, and minimal energy reaches the receiver. When the grid is perpendicular to the electric field, the waves pass through with little attenuation. This experiment illustrates how microwaves, like light, can be polarized and how polarization filters work.
PIRA DCS Number
6H10.20
Preparation Time
15 min
Preparation & Instructions
Orient the receiving dipole antenna parallel to the direction of polarization and the electric field will create an potential difference between the dipole halves, detecting the signal. With the antenna oriented perpendicular no signal is detected.
Safety
Pacemakers and other medical devices may be affected by 10.525 GHz microwaves. Check with a doctor before operating if you have pacemaker or other medical devices.
Description
A graduated syringe is connected to a pressure sensor displayed on Capstone. As the volume on the syringe changes the corresponding change in pressure is shown.
PIRA DCS Number
4E20.21
Preparation Time
10 minutes
Description
An infrared (IR) focusing demonstration involves using a round flask filled with a solution of iodine in carbon disulfide as an IR lens to focus the radiation from an arc lamp. This setup demonstrates how infrared radiation, which is invisible to the naked eye, can be manipulated similarly to visible light using appropriate lenses and filters. By focusing the IR radiation on a match, it ignites, illustrating the concept of energy transfer through radiation. The iodine solution acts as a filter that absorbs visible light but transmits IR radiation, emphasizing the different behaviors of various wavelengths of light. This experiment helps visualize the power of infrared radiation and its applications in heating and thermal imaging.
PIRA DCS Number
4B40.20
Preparation Time
1 hour
Description
Demonstrates magnetic induction using two coils and a keyboard piano.
Aliases
Modulated Coil
PIRA DCS Number
5K10.51
Preparation Time
15 minutes
Preparation & Instructions
  1. Connect one coil to the small speaker
  2. Connect the other coil to the keyboard
  3. Turn the keyboard speaker off
  4. Set the keyboard switch to autoplay and then press one key on the keyboard
Description
A Rubens tube, also known as a standing wave flame tube, or simply flame tube, is a physics apparatus for demonstrating acoustic standing waves in a tube. This demonstration uses a series of small flames to show that a standing sound wave consists of regions at various pressures. The relative flame heights are directly related to the gas pressure at the point of the flame. The tallest flames occurring at points of highest pressure (nodes) and the shortest flames occurring at points of lowest pressure (antinodes).
Aliases
Standing Waves Tube
PIRA DCS Number
3D30.50
Preparation Time
30 minutes
Equipment Requirements
This demo consists of a 3.5 x 0.07 meter aluminum tube with a row of small holes on top. At one end is a speaker to which an amplifier is attached. The tube is connected to a propane tank through a gas valve at the tube’s center. The amplifier is connected to a signal generator (oscillator) and to a laptop (playing a music selection). The amplifier allows the instructor to switch between both sound sources and control their output levels.
The output of the signal generator is connected to the amplifier’s mic 1 input via a special cable. This cable has a ¼ inch phono plug on one end and a BNC connector on the other. The laptop's line out is connected to the amplifiers AUX input’s left channel. Likewise, this hookup is accomplished using a dedicated cable with a ¼ inch phono plug on one end and a RCA phono plug on the other. The amplifier is connected to the speaker through its 8-ohm output, again using a special cable. The propane gas is from a portable tank that is connected to the tube at its center through a gas valve. To complete the setup matches or an igniter are required and a fire extinguisher needs to be within easy reach of the instructor.
Preparation & Instructions
Once the Rubens tube has been properly set up, perform the following steps:
  1. Make sure all valves are in the “off” position. For the propane tank this means the circular valve is turned clockwise until it reaches a hard stop. For the upper valve (near the aluminum tube), this means it is rotated perpendicular to the line it is attached to.
  2. Turn the propane tank valve counter clockwise until you hear propane flowing into the rubber line.
  3. Rotate the upper valve such that propane begins to fill the Rubens tube. The flow rate should be pretty good.
  4. As the Rubens tube begins filling with propane, run a lighter along the holes on the top of the Rubens tube. If the flow rate is sufficient, the flames will be several inches high.
  5. Once all holes have been lit, slowly rotate the propane tank valve clockwise until the flames are only about 1 cm high. The flames should be roughly 50% blue.
  6. Turn on the amplifier and any single electronic device connected making sure the volume is not too loud such that the flames blow out.
NOTE: Failure to follow the start up procedure will likely result in the regulator valve being tripped, preventing the full flow rate of propane into the Rubens tube. If this occurs, close the main propane valve completely and open the top valve. Wait several minutes and restart from step 1.
Description
This demonstration starts with two equal volume blocks of clay and a mallet. The shape of one of the blocks is then hammered with a series of repeated strikes from the mallet to obtain a pancake shape. Explain to the students that the volumes are still the same. The effect is more drastic and entertaining with more strikes. Note: the mallet strikes need to be hard, requiring a certain level of physical strength. The strikes are also quite loud, so it's a good idea to warn students (unless you don't want to!)
Aliases
Pound Clay
PIRA DCS Number
1N10.16
Description
A ball is rolled on a transparent surface so that the students can see that the part of the rolling ball that makes contact is not moving with respect to that surface.
PIRA DCS Number
1K20.30B
Description
A cart is stacked on top of another cart and are coupled together. A rider on the stack of carts is pushed. Once the carts are up to speed they are uncoupled just before striking an object that stops the lower cart. The top cart continues at the same speed as before the impact. The lower cart stops due to an external force.
PIRA DCS Number
1F30.30
Preparation Time
5 minutes
Preparation & Instructions
1. Stack the carts, the wide one on top of the narrow one. 2. Insert the wood coupling device to connect the top cart to the bottom cart. 3. Have a rider sit on top of the stack of carts and push with a modest speed. 4. The rider pulls out the wood coupling device before hitting a block taped to the floor. 5. Bring the rider and remaining cart to a safe stop.
Safety
A safety helmet should be worn. A slow speed will work well and will be safer. Keep hands clear of the impact block. Do not stand on the cart.
Description
PASCO 8523 multiple slit set has many variations of multiple slit themes on a disk. The disk is rotated before a laser to show:
4 double slits
1 variable slit
4 comparisons of single/double slits of same width
double/double slits
double triple slits
set of 4 multiple slits (2,3,4,5 slits)
PIRA DCS Number
6C10.15C
Preparation Time
15 min
Description
A set of three transparent models that can be used to prove the Pythagorean Theorem algebraically and by inspection.
PIRA DCS Number
1A50.90B